


Captioning Options
All videos posted in your Canvas courses must be captioned. Please review the following scenarios for captioning options available to faculty.
Scenario 1: I need to caption my Canvas Studio videos
Fullerton College added Canvas Studio in July 2020. Canvas Studio allows faculty to create a video library within Canvas by providing space to upload existing videos and add YouTube and Vimeo URLs.
There are two different processes for captioning in Canvas Studio.
Captioning Videos Created or Added to Canvas Studio:
- As of March 25, 2024, Canvas Studio automatically generates captions for all uploaded video files.
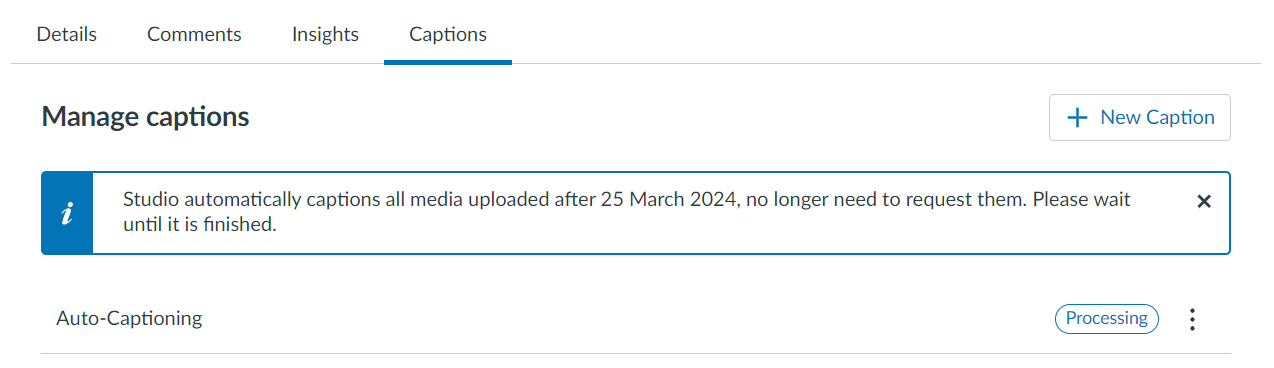
- The captions may take several minutes to process. (You will receive an email when the auto-generated captions are complete.)
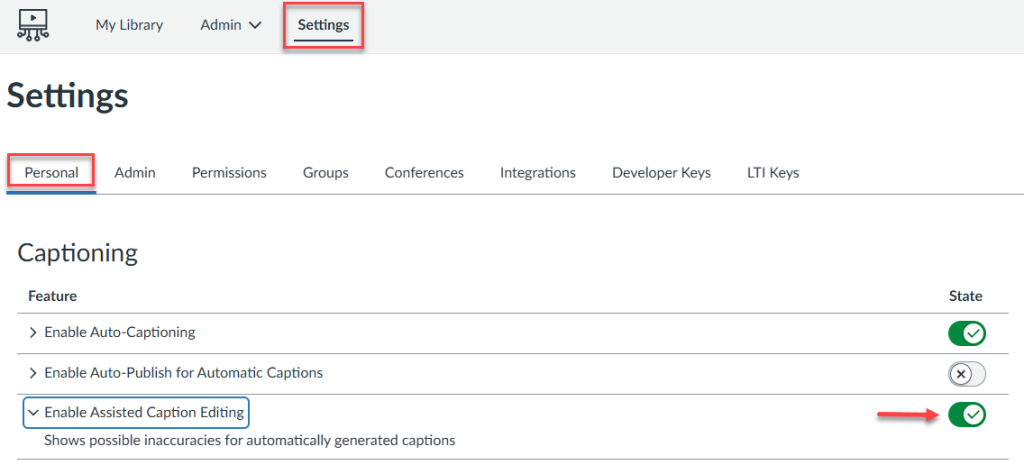
- While you are waiting for the captions to process, turn on Assisted Caption Review in your Canvas Studio Settings. This feature flags potential inaccuracies in the auto-generated captions and helps reduce time spent editing.
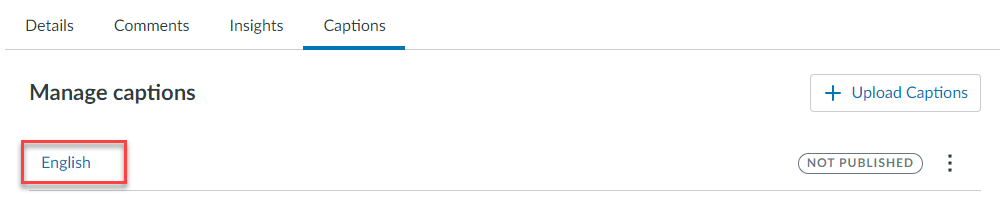
- Once the captions have been generated, select the caption language. This will open the caption editor interface.
- Review the captions and make revisions as needed. To edit a caption, select it, make corrections in the Edit Caption section, and click Save.
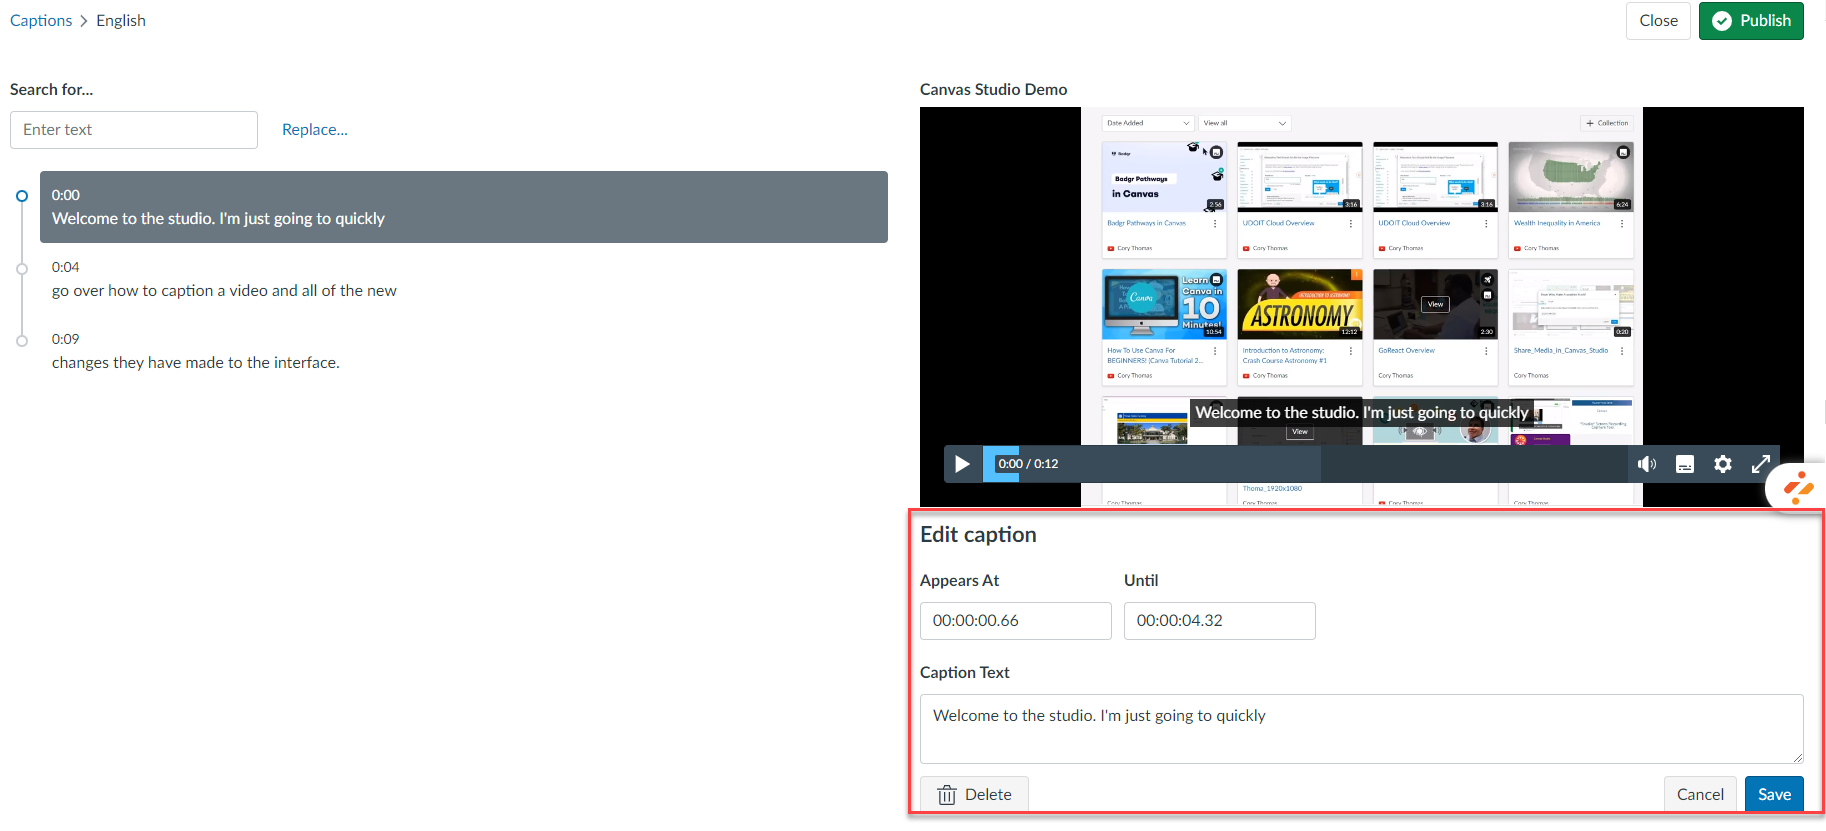
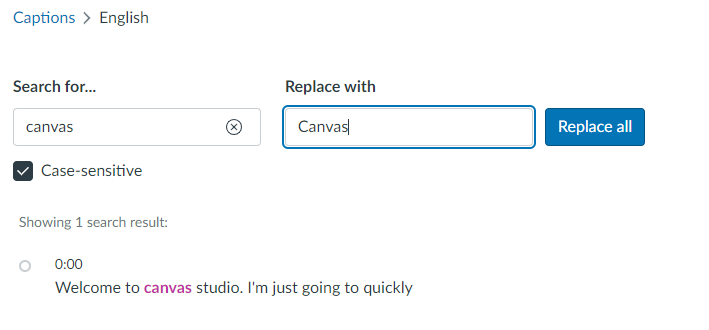
- Take advantage of the Find and Replace feature if you notice the captions are getting certain words wrong repeatedly.
- Once your edits are complete and the captions are accurate, click the green Publish button.
Captioning YouTube Videos Added to Canvas Studio:
As of September 2025, YouTube captions should transfer over to Canvas Studio. If they do not, or if the captions are auto-generated or otherwise inaccurate, follow the steps below.
- Copy the YouTube URL.
- Go to SaveSubs and paste the YouTube URL.
- Click the purple Download button.
- Select the SRT button to download the caption file and save it to your computer.

- Go back to the video in your Canvas Studio.
- Click Captions, then click the Upload button, and select the appropriate language for your captions.
- Select the caption file you saved from SaveSubs.
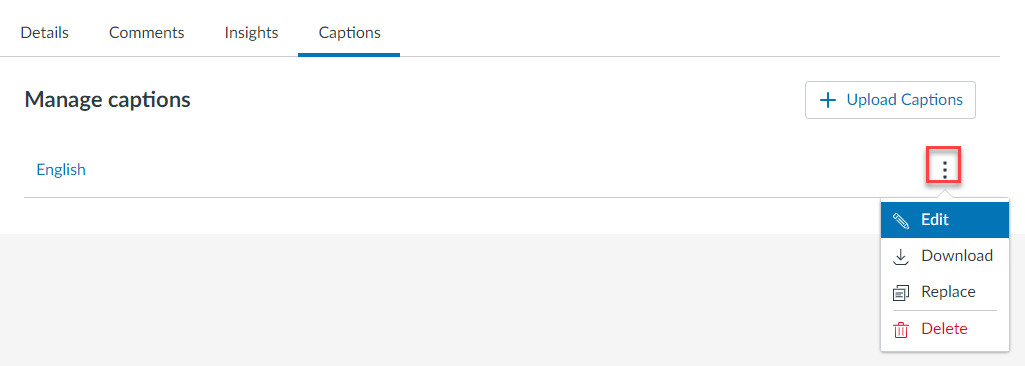
- If you need to edit the captions, select the three-dot menu, and choose Edit.
- Congrats – your video is now captioned in Studio!
Scenario 2: I create my own instructional videos and host them on YouTube
Solution: YouTube Caption Editor
Watch this short video to learn how to edit YouTube’s automatic captions.
Note: YouTube is constantly making tiny tweaks to their Creator Studio/video editing interface, so your screen may look slightly different than what is shown on the video, but the basic premise remains the same.
Scenario 3: I create my own instructional videos, but do not want to use YouTube
Solution: 3C Media
February 2026 Update: Captioning is currently unavailable but should be restored shortly.
Spring 2024 Update: 3C Media captioning services are finally available again after several months of interrupted service due to the transfer of the DECT Grant!
3C Media Benefits:
- FREE video storage for faculty, staff, and administrators of the CA Community College system
- Share videos privately or publicly
- Request captioning in a few simple steps
Create an account and request the ability to upload videos.
Video Tutorials:
- Learn how to register for a 3C Media account.
- Learn how to upload videos to your 3C Media account.
3C Media Captioning Policies as of March 2024:
Caption requests are completed using computer-generated automatic speech recognition (ASR) by default and have a 1-day turnaround time. If you require human-generated captions, please select that option in the drop-down menu where prompted. Human-generated caption requests currently have a 5 business day turnaround time.
By submitting for captioning, you acknowledge and agree to the following:
- Funding covers instructor-created media for use by students only (English only)
- Media must be uploaded to TechConnect Cloud (3C Media Solutions) servers
- Videos that do not have clear audio or are mostly music will not be accepted
- Please do not submit videos for practice or experimentation
- Failure to comply will result in current and future delays and/or rejection of submissions
Appropriate submissions will be processed and captions will be automatically added to your media. You will be notified on your account page.
Scenario 4: I use third-party YouTube videos that have auto-generated captions
Solution: Download the Captions from YouTube using SaveSubs
Even if you did not create a YouTube video, you can access the captions using a caption downloader website. The site used in this example is SaveSubs, but other options include DownSub and Views4You.
- Copy the YouTube URL.
- Paste the YouTube URL into SaveSubs and click the purple Download button.

- Select the purple Edit link to make corrections to the auto-generated captions.

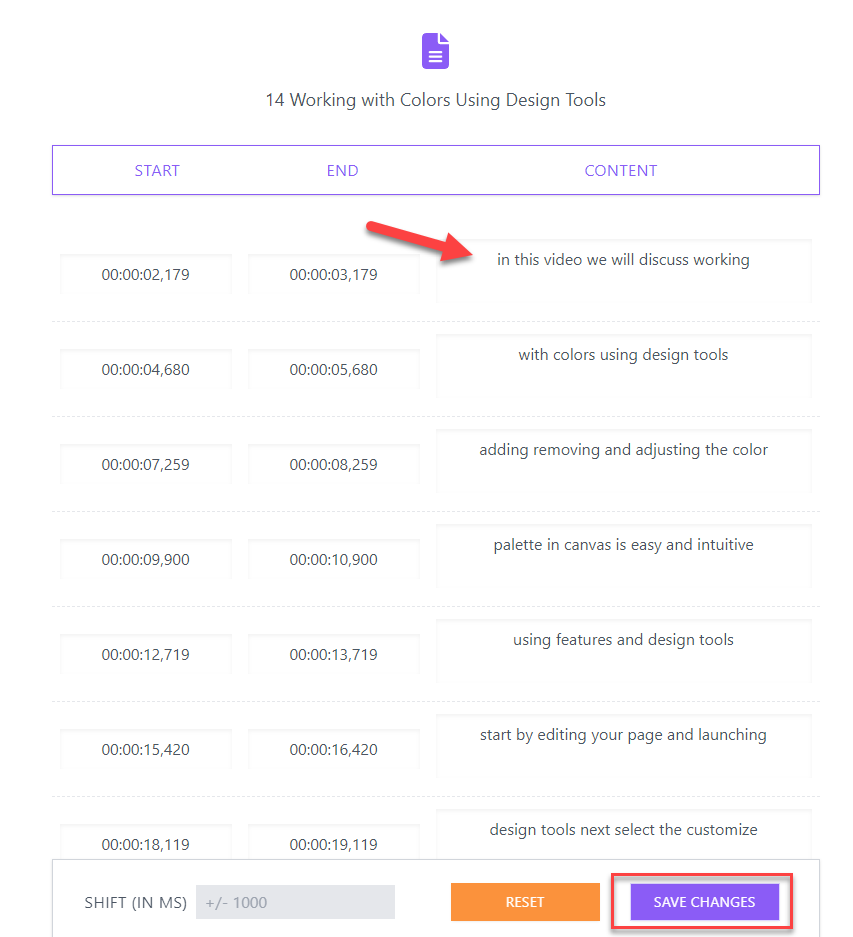
- Make all of the necessary edits in the content boxes. When you have completed all of the edits, select the purple Save Changes button.
- Select SRT to download and save the caption file to your computer.
Add the Caption File to the Video in Canvas Studio
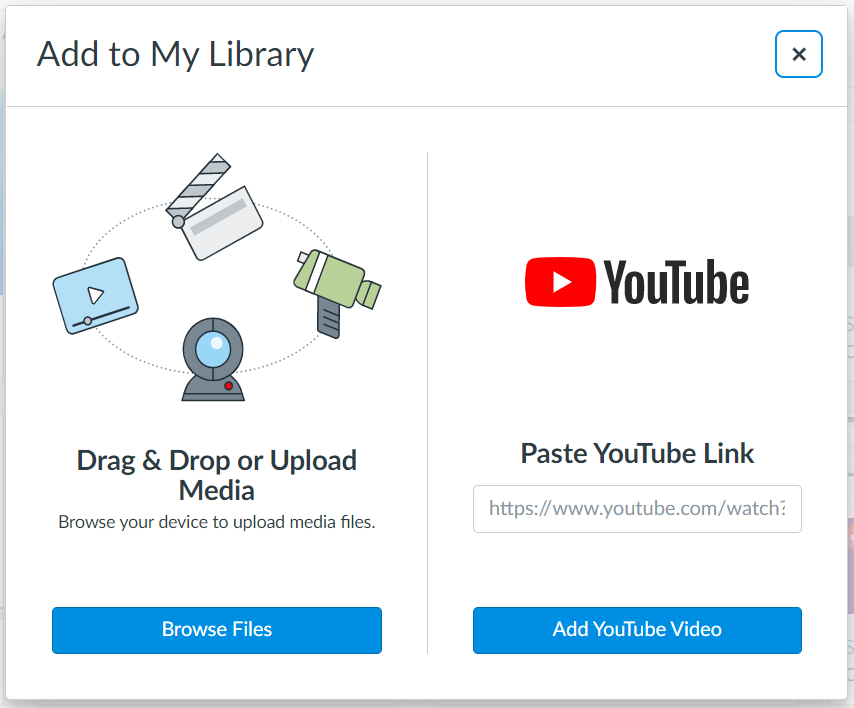
- Go to Canvas Studio and click the Add button.
- Paste the YouTube URL and click the blue Add YouTube Video button.
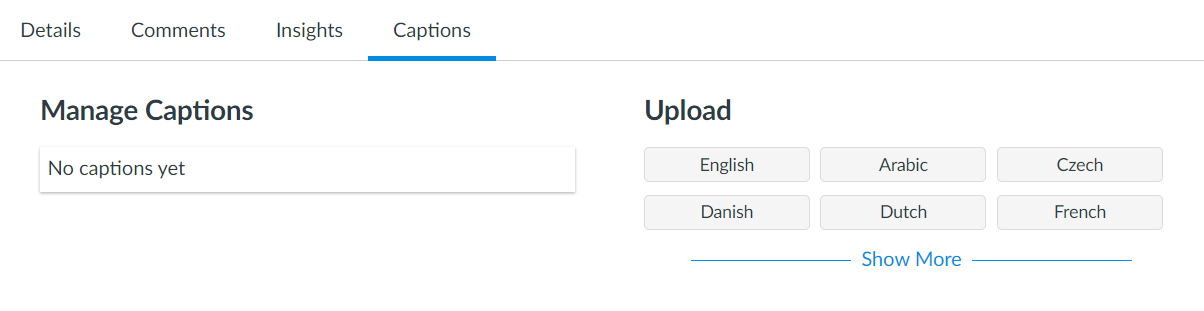
- Click on the video you just added and go to the Captions tab
- Under “Upload” select English, or whatever language is appropriate for the video, and locate the caption file you edited and saved previously.
- The captions have been added to the video!
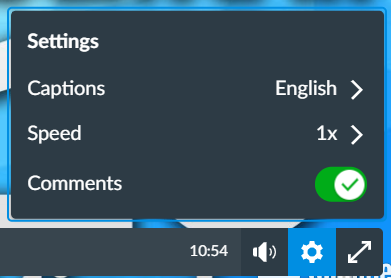
- You can turn them on using the settings button on the Canvas Studio video player.
Scenario 5: I use third-party YouTube videos that do not have automatic captions
Solution: Amara
Create a free account with Amara and use their editor to caption third-party videos from YouTube and/or Vimeo. Watch the video below to learn more about Amara’s captioning interface.
Scenario 6: I recorded my Zoom lectures and need to caption the recordings
If you would like to record your Zoom lectures and then post them in Canvas for students to review, there are a couple of options for captioning those recordings:
Option 1
- Download your recorded lectures from your Zoom account (Zoom > Recordings > Cloud Recordings)
- Sign up for a 3C Media account, upload your recorded lectures, and request captioning
Option 2
- Upload your Zoom recordings to Canvas Studio.
- Studio will generate an automatic caption track, which is very easy to edit. Refer to Scenario 1 for more information on captioning in Studio.
Scenario 7: I need live captioning in Zoom
Activate Zoom’s Captioning Feature:
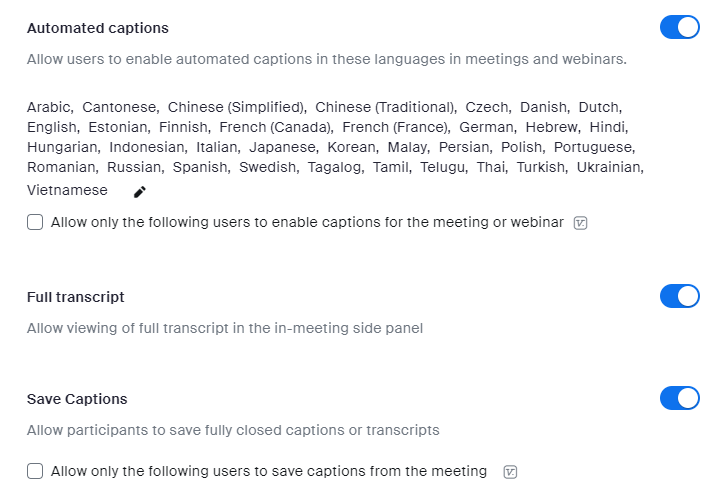
- Go to your Zoom In Meeting (Advanced) settings and ensure the captioning options are enabled.
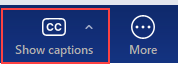
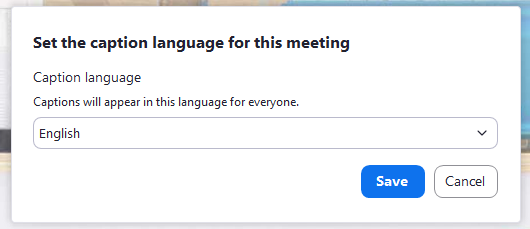
- Select the “CC – Show Captions” button on the Zoom toolbar.
- Choose the language and Save.
Note: The Zoom auto-transcription is insufficient for someone who is deaf/hard of hearing and requires a live person to provide such access. Students who require captioning and/or transcription services as a disability accommodation should be referred to the Disability Support Services office.