


Turnitin and Canvas
There are two ways you can use Turnitin for Canvas Assignments:
- External Tool: This tool allows you to access the full suite of Turnitin evaluation tools
- Plagiarism Review: This option is new in Canvas and allows instructors to receive a Turnitin similarity report on student submissions while retaining the ability to use Canvas grading tools (rubrics, peer review, etc.)
External Tool Instructions
- Select Assignments in your course navigation
- Use the +Assignment button to create a new assignment
- Enter the assignment name, total points, and other relevant settings
- Select External Tool in the Submission Type dropdown and then use the Find button to bring up the list of external tools
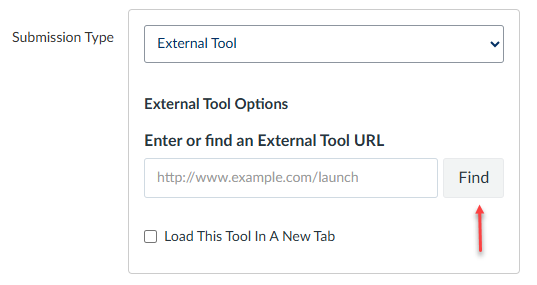
- Scroll down until you locate TurnItIn LTI 1.1 and select it

- Use the Save button to save your assignment. (Do not Save + Publish yet as a few settings need to be configured in Turnitin in the next step!)
- Use the Load Turnitin External Tool in a new window button to open the Turnitin Dashboard for the assignment

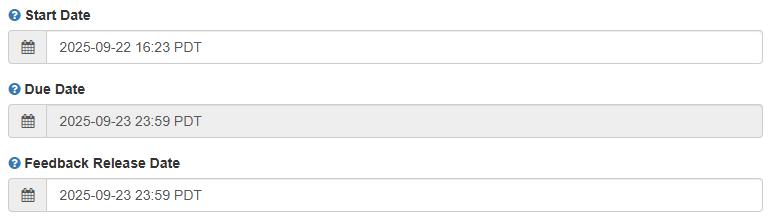
- Review and adjust the Start and Feedback Release Dates as needed. (The due date is pulled from the Canvas settings and cannot be changed here.)
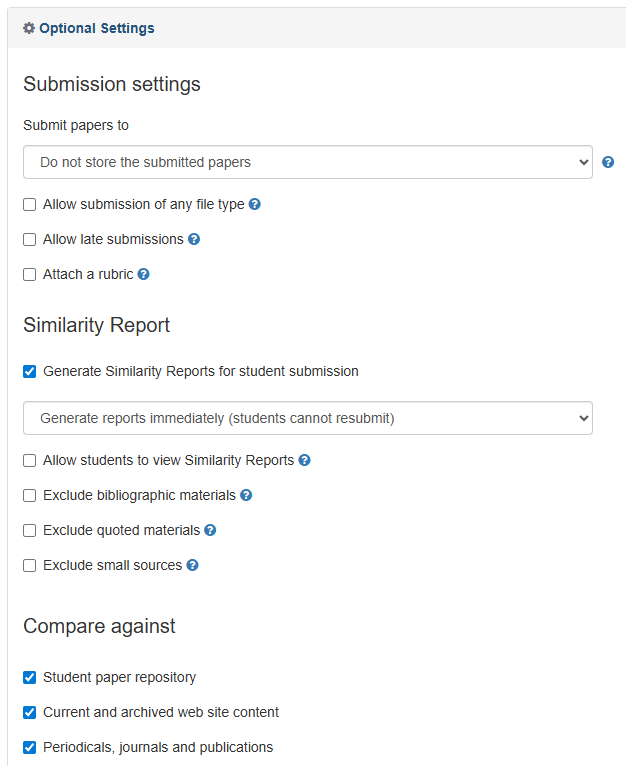
- Open the Optional Settings panel and select the appropriate settings for student paper storage and the similarity report
- Use the Submit button at the bottom of your screen to save your Turnitin settings
- Go back to Assignments in Canvas and publish your assignment

Plagiarism Review Instructions
Plagiarism Review FAQs for faculty
- Select Assignments in your course navigation
- Use the +Assignment button to create a new assignment
- Enter the assignment name, total points, and other relevant settings
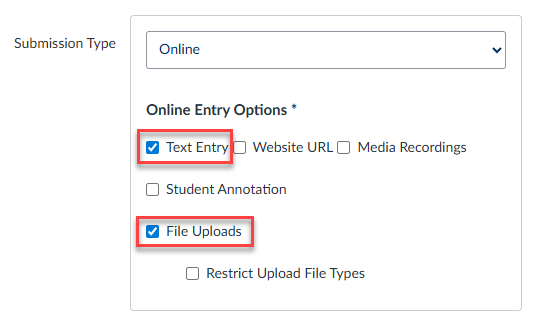
- Select Online in the Submission Type dropdown and then select Text Entry and/or File Uploads as the entry options
- In the Plagiarism Review, select Turnitin Plagiarism Review (1)
- The options will expand with several other settings to review. Review these carefully as they pertain to whether or not student submissions are stored in the Turnitin repository (2), what content student submissions are compared to (3), how the similarity report is prepared (4), and when your students will see the similarity report (5)

- Once all of your settings have been selected, use the Save or Save + Publish button to save your work
- In Speedgrader, you will see the similarity score in the feedback panel. The results are color-coded (blue: no matching text, green: one word to 24% matching text, yellow: 25-49% matching text, orange: 50-74% matching text, red: 74-100% matching text)
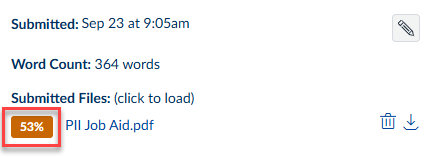
- Selecting that score opens up a new tab where you can review the full similarity report for that submission